

How to pack images in Python Tkinter file to an Exe file?
Packing Tkinter Images into Executables Made Easy!

I am a freelance AI model trainer / LLM trainer using RLHF, RLVR at Scale AI. I have trained with the leading top 5 models in the world.
Ever had the experience of developing a Graphical User Interface (GUI) with images in widgets in Python using Tkinter, and after converting that .py file to an .exe file, the images included in the GUI is showing error?! This article helps to solve that issue and bring back the images included in the project in the EXE file also.
Tkinter is a python library used for building GUI.
Let us consider a small and simple GUI having a Label widget and an image attached to it. The code of the Python file is below:
import tkinter as tk

window = tk.Tk()
window.geometry("300x200")
window.title("School")
applePhoto = tk.PhotoImage(file="red-apple.png")
apple = tk.Label(window,text="Apple",image=applePhoto,compound=tk.LEFT)
apple.pack()
window.mainloop()
The GUI generated by the above code is below,
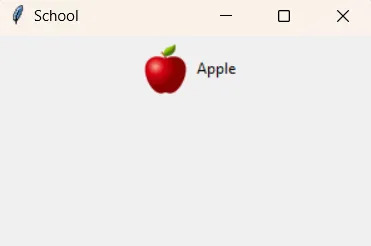
Now the picture of a red apple appears with the Label widget in python file.
After converting this python file to an executable (.exe) file, and on opening the EXE file, it shows error to load the picture.
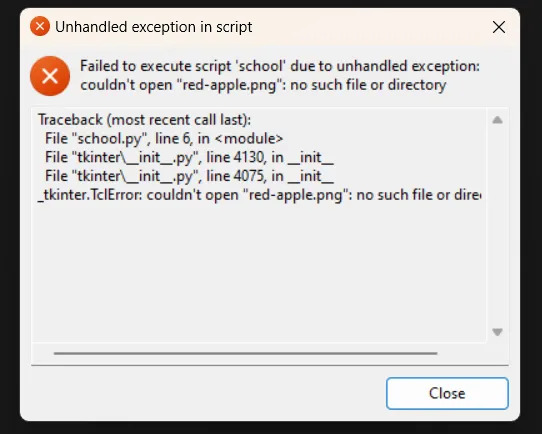
This is because the image file is present in the same folder along with the .py file before, and when we ran the application in IDE, it works well and the red apple image can be seen. But after converting to EXE file, the picture “red-apple.png” is not in the same folder as the EXE file. Also when we open an EXE file, we cannot places every such pictures along with it.
How to solve this error?
To avoid this error, convert this picture of red apple to base64. Then assign the base64 of the red apple picture within the code as PhotoImage.
Step 1: Visit https://base64.guru/converter/encode/image/png .There are many other websites also to convert picture of jpg, png or in other formats to base64. They are,
Use any of these websites. Here I am using https://base64.guru/converter/encode/image/png
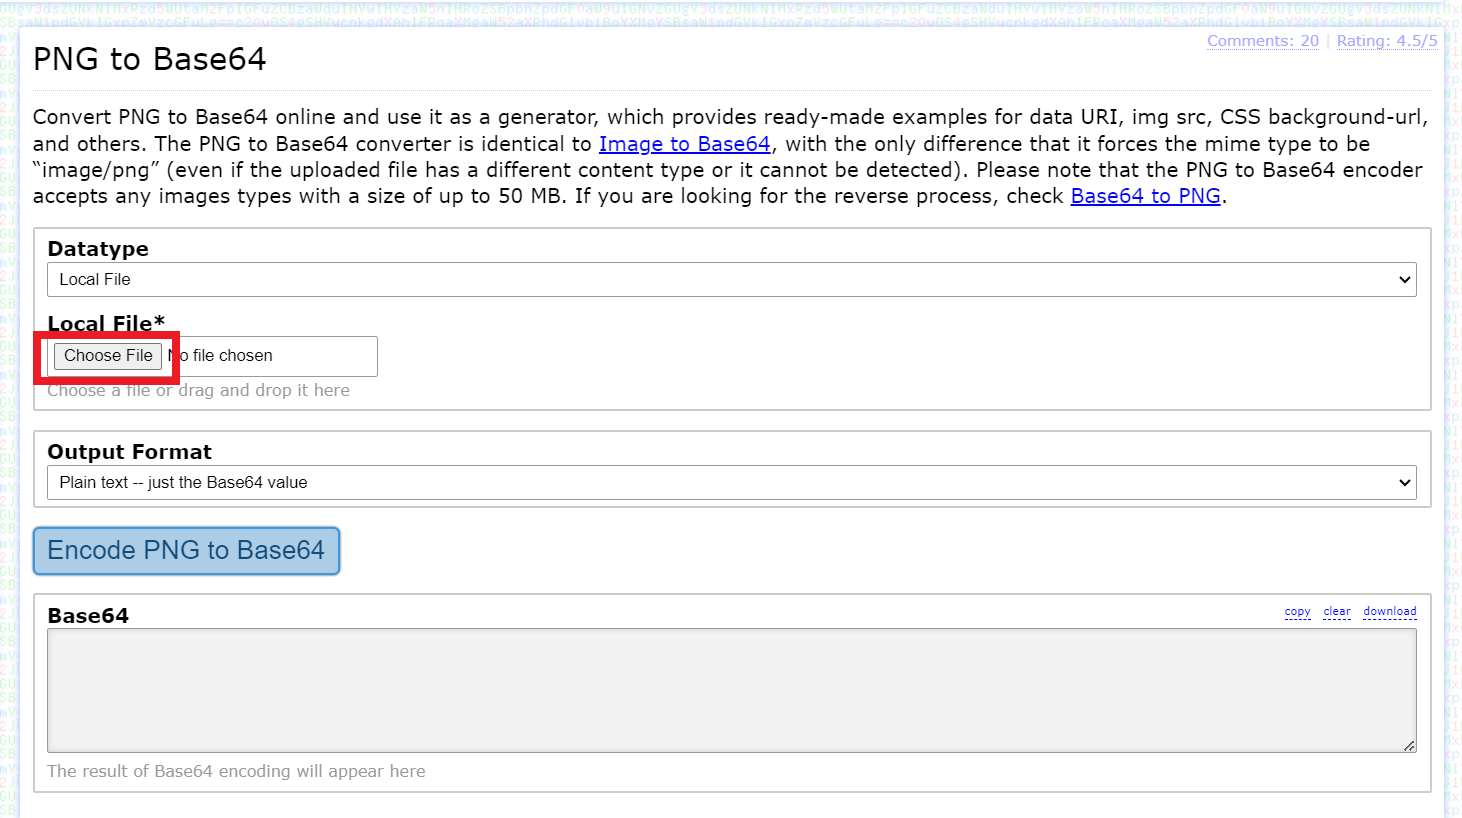
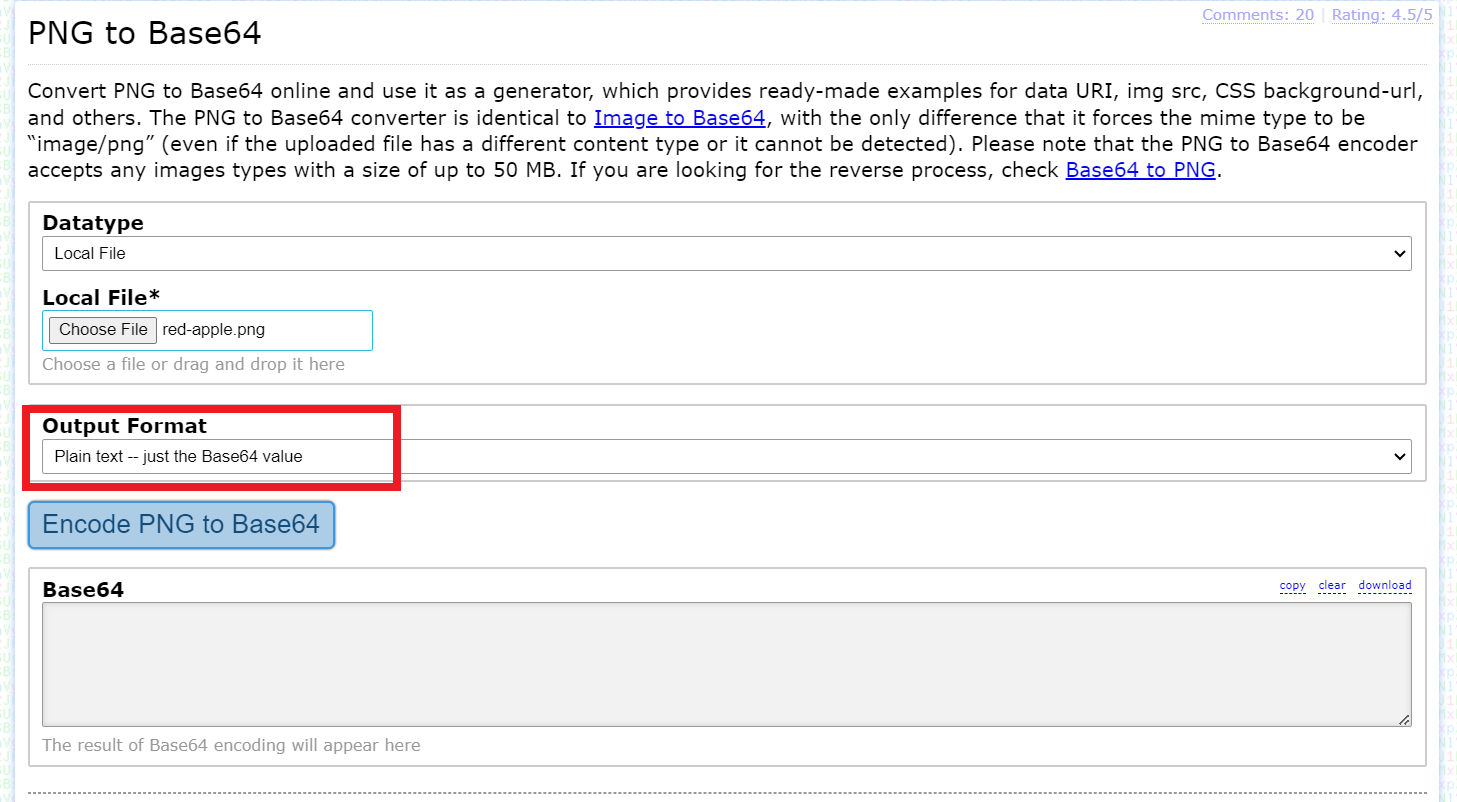
Step 2: Click on the ‘Choose File’ button to select and upload the picture you want to add in your GUI from your computer.
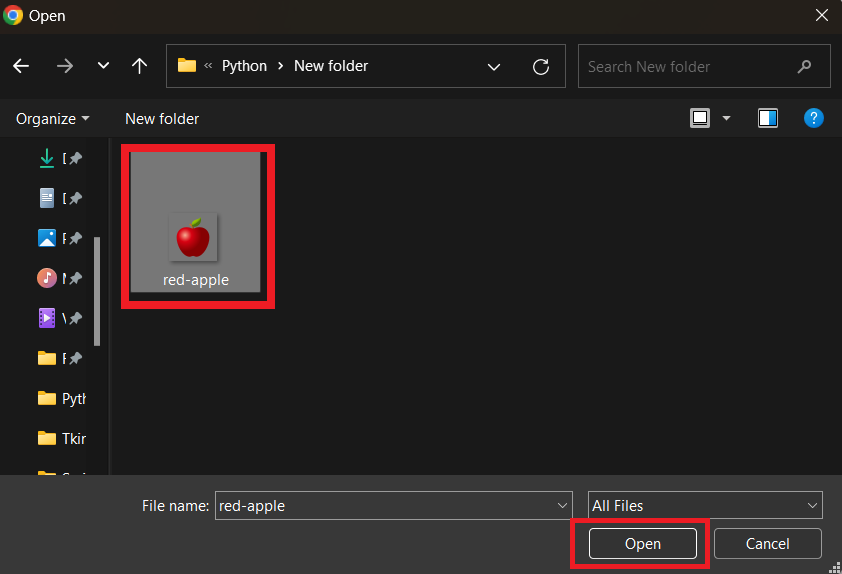
Step 3: Choose the picture from your computer, and click ‘Open’ in the dialog box.
Step 4: Make sure that ‘plain text — just the base64 value’ is selected under the ‘Output format’ in the website.
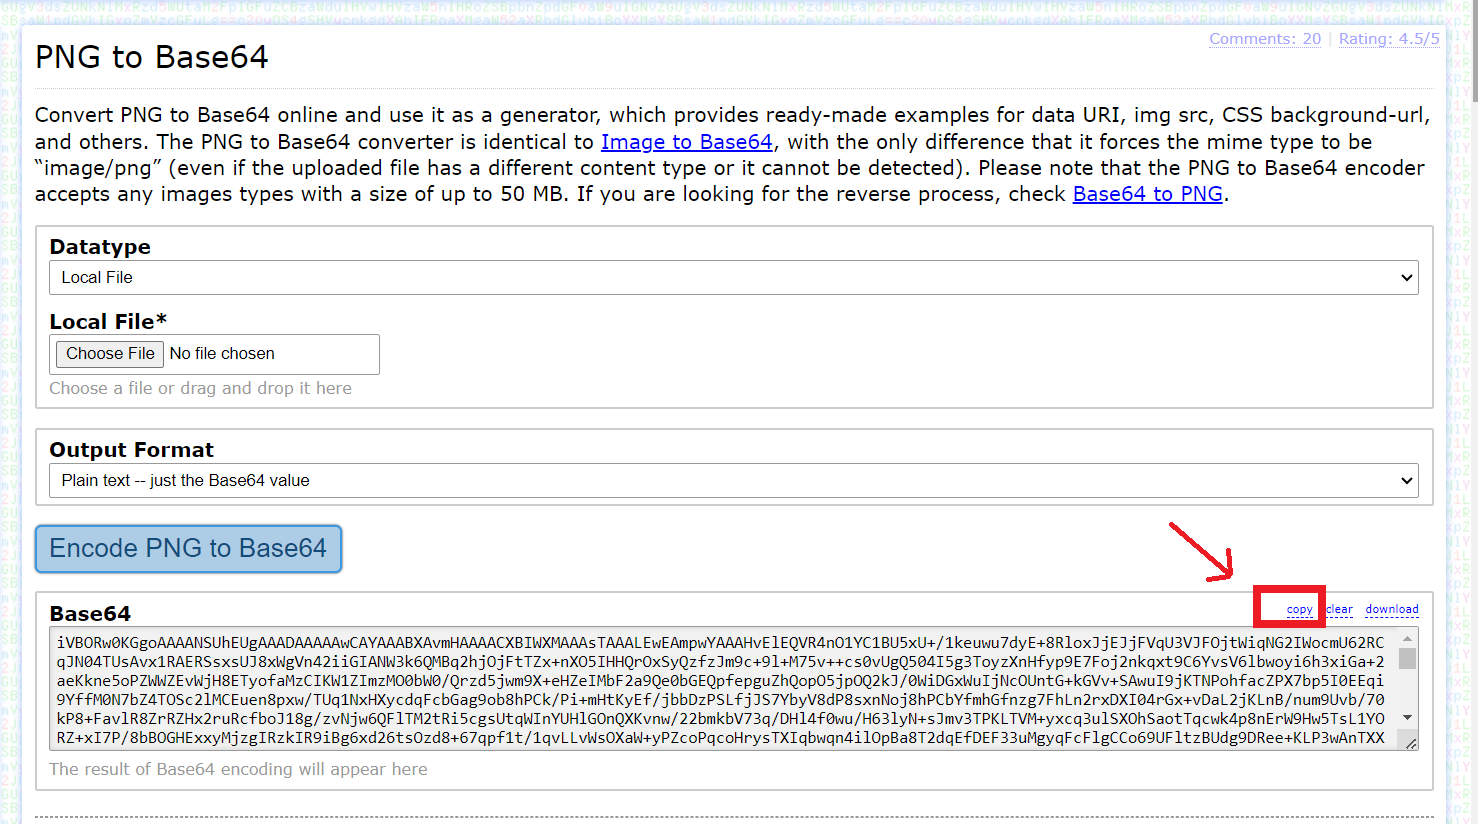
Step 5: Click the button ‘Encode PNG to base64’ . Now the base64 of the uploaded picture is displayed in the box below.

Step 6: Copy the base64 of the uploaded image by clicking on the ‘copy’ button above the base64 box.
Step 7: Now open your IDE and make some changes to your python file. Create a variable and assign the copied base64 within double quotes. Here my variable name is APPLE_IMAGE. The base64 will be a very long string based on the size of the picture you converted.
APPLE_IMAGE = r”base64 copied”
Step 8: Then in the PhotoImage variable ‘applePhoto’, use the option ‘data’ and assign the variable containing the base64 ‘APPLE_IMAGE’.
The python code after making these changes is as below:
import tkinter as tk

#base64 of picture
APPLE_IMAGE = r"iVBORw0KGgoAAAANSUhEUgAAADAAAAAwCAYAAABXAvmHAAAACXBIWXMAAAsTAAALEwEAmpwYAAAHvElEQVR4nO1YC1BU5xU+/1keuwu7dyE+8RloxJjEJjFVqU3VJFOjtWiqNG2IWocmU62RCqJN04TUsAvx1RAERSsxsUJ8xWgVn42iiGIANW3k6QMBq2hjOjFtTZx+nXO5IHHQrOxSyQzfzJm9c+9l+M75v++cs0vUgQ504I5g3ToyzXnHfyp9E7Foj2nkqxt9C6YvsV6lbwoyi6h3xiGa+2aeKkne5oPZWWZEvWjH8ETyofaMzCIKW1ZImzMO0bW0/Qrzd5jwm9X+eHZeIMbF2a9Qe0bGEQpfepguZhQopO5jpOQ2kJ/0WiDGxWuIjNcOUntG+kGVv+SAwuI9jKTNPohfacZPX7bp5I0EEqi9YffM0N7bZ4TOSc2lMCEuen8pxw/TUq1NxHXycdqFcbGag9ob8hPCk/Pi+mHtKyEf/jbbDzPSLfjJS7YbyV8dP8sxnNoj8hPCbYfmhGfnzg7FhLn2rxDXI04rGx+vDaL2jKLnB/num9Uvb/70kP8+FavlR8ZrRZHx2ruRcfboJ18g/zvNjw6QFlTM2tRi5cgsUtqWInYUHlGOnQXKvnw/22bmkbV73q/DHl4f0wu/H63lyN+sJmv3TPKLTVM+yxcq3ulSXOhSaotTqcwk4p8nErW9Hw5TsL1YORZ+xI7P/8bBOGHExxyMjzgIRzkIR9iBg6xd26tsOzd8+67qpf1t/1qvLLvWsOXaW+yPZcoPqcoHrysTXIqbwqn4ilOpBa8T2dqEfDEF33uMgyqFcFlgCCo69UFltzBUdg9DRee+KLP3wAnTXXoiRexAAWvYy3bs4EBs5gCsYwtWsxkrlB+WKF8suiEB1/VEyucRhXuZvKPPcXacK/XtjIpOfVF19704NeBBnHnwET1O3/cQToYNQEWXu1Fq7qIn8SE7kM8a9rAN2zgQG9mKbLYgi/2xVPnhD8oHKS0kYETta0S9vEIeROooB+VJ5aXSp/o9gOrBQ1Hz2GOoGz0KdWOeRM0Tj6N66Hdxqv9AVHYLRalvJxzjIBxmDfuMU3ifA7CWLXibzchUfnhT+WD+TU6h4STUXvnfHidQaNKe+isHodzeAydDB6B6cIRO+vwzE3Ah5hnU/yIa56OjUDd2DKojhuHkPfejPKgXxCMipQNsx2624c8cgPVsbZJRmvLFglskoAeZIj1OoEg5dotJRR6n738ItU88jvPRE3EpNgaf/O4FXH55Ji7Neg7nJz+N2lE/0CVVGfIt3Q8lHKR74S+GjDawFX9iM1ayP9Jv4QPX9VPY7hH5vdQ5sISDviz16YTKHvfgzKDBqPvRGNQ/PwmXX4nFZ2mJ+Cz9VVyeNwsXp03BufFjUT0kAlV9wnUviIwOsYYP2I5cwwdr2NIsAZ+vSYC/SCSytjqBfLJFSGsUTVf17IczjwxBXeQPUf/Lybg8Lw5XViTh86xkfOqcjYszpuLcjyN1L1T17Y9SS1ePE3DpMqIhrU6gwKRFlbADJ0zBersUedSOHoULU3+Gf8ydhk+TE/DPlDn45MVf6V6oGzsaZwYN0ZMt9euszwWR0AfNOtGa25CQSzGSyTSh1QkcYNsUMaIYsjy4N06FD8TZR7+vV7o+JhqXZsboXqh/7ln8PWo8akaM0NurdCvxTXHDUNNb6dZmHvgj++uzYKEbCbiIp7Q6gTxT4LhC1nBcZGTuovvg9AMP4+zw4boXhLSEyKpm5Ej9hKp6h6MsoJs+C2Qq72c7drGtaZi9w2Ys19uoG11IediJdpMtQioopyCttMwWostDH2LfGYqzw76Hs8Me1VurDDMhX6711E9Mql/QTP+bOAA5bMEqY514o4V1wtVCJBENbXUCO8jcSwaRGFG8IMTKrN30lipkZS7IBJauU9E1FGWB3fV3jhpDLM+ofuMMaN5CF7tjYMVIIepJnmAX22ryjCSkqiIN0bdISghLlJq76kudPJNEhbxIp3GNeI+tevWvT2E35aO4ljzFNhW4ViapJCGSEF1LItIijxtxzCAuzwqakc81VojGRU7Mm6F89T0o2Y3qu5TSV3GPsIkDp0sVRQqiZyEnvpATOWyEXMs9WRtkA5V3tzWRb5BOVrNV2s3qw0k8zeMENlJAl/fY+sUWDsB2IxFZDYToPiPkWu7JM3lHNL+JrXrlpe/L94BMY/9xp/e7GuJLJ1FX8gZylHmrmFA6iSQiPV3ksd0IuZaKyzN5R/r9u4ZssgzySwzj3mKFxg3y2ULewiqTZaLIQIwokhCCYsxNRsi1TNn1BnGp+ttGx1lmVP72yLNnE/hGrCMyrWT/E9LDpaqSjHw5yTEi2yAtz1YZxGVYiWFl7xfZ3A55l+KPE4mYvIl08n1aqim7vBDMMuIt41PuybNMg3ia0W3cNazrq9WPIm9DKvKGMpUIMRlEGUYsNT7lnjyTLtNI/DarDr3zKC7xevUbkUK+9y1Qpn+LJETTiw2y8in3ZDmTr4nu9fgWyf/HSTSQ2hJJxAmtIedWEMdRW0OO16XUVm+Tdyq1oc2k00ISVqfiPC+Sfz+TyJf+n1hEZHEptdYL5LMTifzoTiGJeLJsjTcx5TWX4qs3IV/rIp5E7QGJRGbp3S6lljuV2ulUaoWLTGMWEAWkEvknk2mES6kM+ZlEfsx1kmmi3KcOdKAD5Cn+B1UULOjmu/LyAAAAAElFTkSuQmCC"

window = tk.Tk()
window.geometry("300x200")
window.title("School")
# base64 converted to PhotoImage
applePhoto = tk.PhotoImage(data=APPLE_IMAGE)
# Label with picture of red apple to its left
apple = tk.Label(window,text="Apple",image=applePhoto,compound=tk.LEFT)
apple.pack()
window.mainloop()
Step 9: Now run this code in your IDE, it should work perfectly and the picture of red apple will be displayed.
Step 10: Next convert this python file to EXE file.
Step 11: Double click on the EXE file that is created. The application should open without errors now.
And that is how you can pack a picture along with a python file to create a perfectly working EXE file.
Thanks for reading my article!


